Applying a protective film to your cell phone: how it works
Do you want to apply your new cell phone protective film and want to know the best way to do it? With our step-by-step instructions, it's easy!
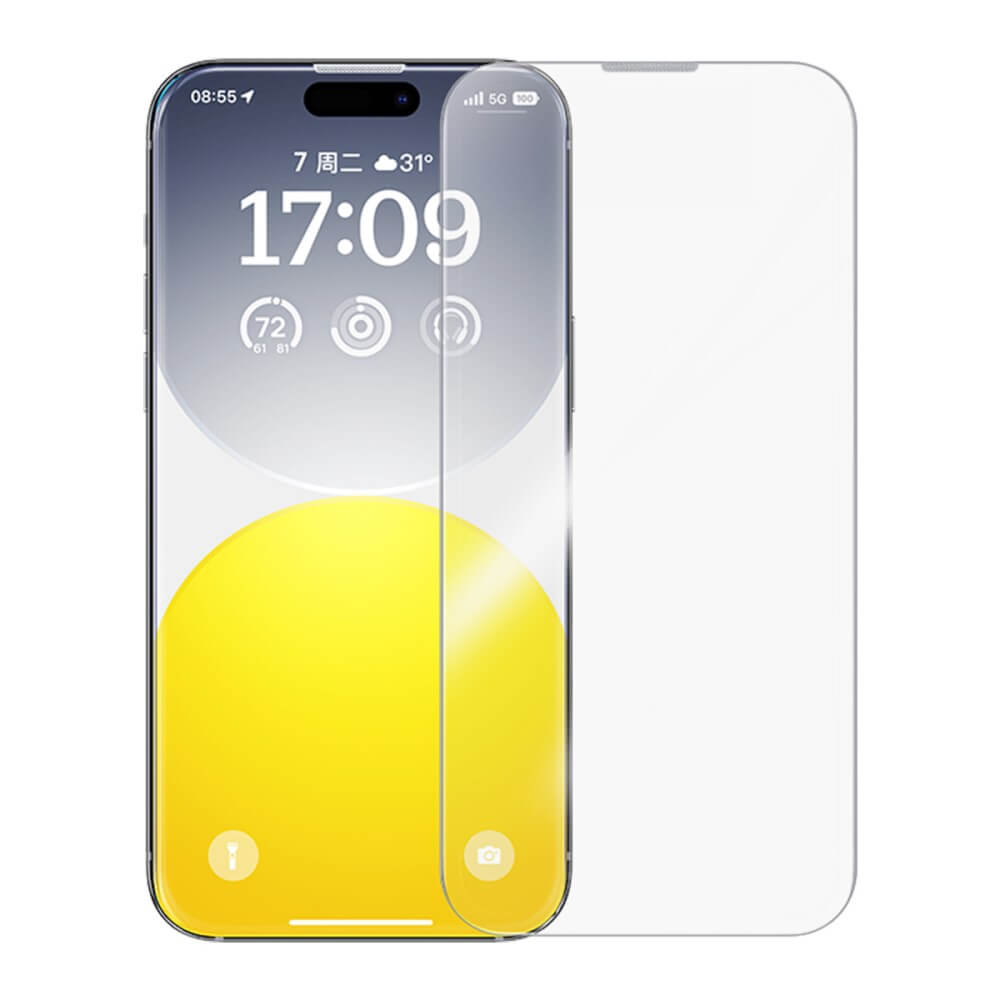
1. Applying a protective film to your cell phone: clean the display first!
Before you apply the protective film, you should clean the screen carefully. Remove dirt and grease stains and wipe off dust with a cloth. A microfiber cloth is best for this. It often comes with the protective film. With a sticker or a small piece of adhesive tape, even the last small dust particles will disappear.
2. Accurately align the protective film
If you want to attach a protective film to your cell phone, you'll need a little patience, because it should be aligned as precisely as possible. To get a feel for the perfect position, you can first apply the film as a test and together with the adhesive protection. Feel free to try it out several times and take your time.
3. Attach the protective film to your cell phone
Then remove the adhesive protection at the bottom end of the protective film and position it along the edges and cutouts of your cell phone. Keep in mind that every smartphone has different dimensions and cutouts and that each protective film is custom-made for your cell phone. Once you have found the perfect position, you can gradually peel off the rest of the adhesive protection and apply the protective film evenly to your cell phone.
4. Remove any air bubbles
Small air bubbles may form when you apply the protective film. You can gently blow them out towards the edges using a microfiber cloth. If this doesn't work, take a plastic card and wrap it in the microfiber cloth. This will make the smearing more even and the effect stronger. If there are larger air bubbles, you can carefully lift one corner again and then reapply the protective film to the cell phone. However, this should only be done once if possible.
Our protective films